
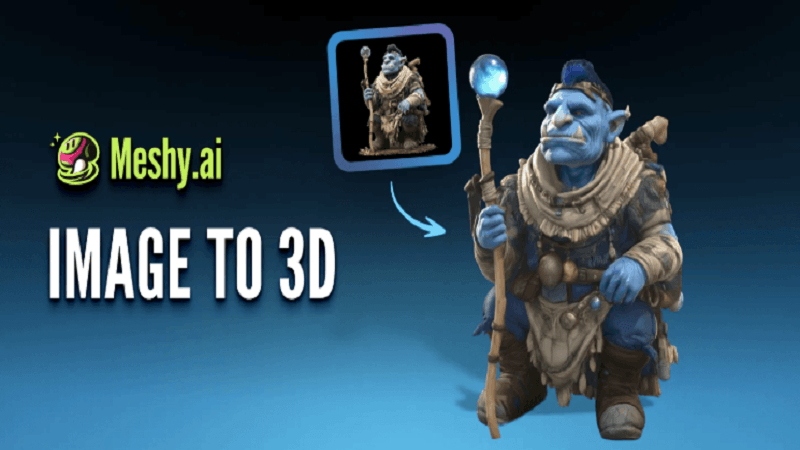
You upload a decor reference photo, generate a draft mesh, then refine and export it. Meshy AI runs this image to 3D model workflow in about a minute and returns textured geometry as GLB, FBX, or STL. Matte, opaque objects shot against a plain background give the most usable results.
The upload part takes seconds. Whether the result is usable depends almost entirely on the photo you feed it. That is where most people lose the time they thought they were saving.
What Makes a Good Decor Reference Image for Meshy AI?
A usable reference is flat-lit, plain-backed, and shot at a three-quarter angle. Meshy’s documentation recommends inputs of at least 1024×1024 pixels. Clean separation between the object and its background matters more than raw resolution.
Most failed conversions trace back to the photo. A Pinterest screenshot of a styled shelf hands the system five overlapping objects and no clear silhouette. Crop to one item before you upload anything.
Hard Shadows Get Baked Into the Texture Map
The system reads a cast shadow as surface color, so your walnut side table arrives with a black stripe down one leg. Bright direct sun through a window is the usual culprit. Diffuse daylight or an overcast afternoon fixes it for free.
- Fill the frame with one object, roughly centered
- Use a plain wall or a cut-out transparent background
- Shoot a three-quarter view rather than dead-on flat
- Avoid glare, specular hotspots, and reflected room clutter
- Supply front, back, and both sides when multi-view is available
How Do You Run the Conversion In Meshy?
Upload the image, choose a model version, generate a preview, and then refine. Preview passes land in roughly 30 seconds. A refined pass with PBR textures takes two to four minutes on current versions.
The speed claim holds up against the underlying research. Stability AI and Tripo AI published work on this in March 2024. Their TripoSR model produced a single-image mesh in under 0.5 seconds on an A100 GPU. Hosted tools run slower because they add texturing, cleanup, and queueing on top of that core step.
The practical sequence:
- Upload one cropped reference and enable multi-view if you have extra angles
- Run a preview pass and rotate the result before spending credits on refinement
- Refine with PBR enabled, which returns base color, normal, metallic, and roughness maps
- Remesh to your target polygon count, then export
Kill bad results at the preview stage. The preview tells you whether the silhouette read correctly, and a broken silhouette never recovers during refinement.
Which Decor Objects Survive Image to 3D Model Conversion?
Matte, opaque, solid-form objects convert well. Transparent, mirrored, and thin-lattice objects do not. That limit belongs to single-image reconstruction as a method, so switching tools will not rescue you.
The reason is physical. A 2023 paper on reconstructing objects inside transparent containers put it directly. Refraction and multiple reflections “invalidate the single viewpoint assumption”, and both classical photogrammetry and neural methods depend on it. Your glass vase is not a hard case for the software. It sits outside what the method can do at all.
The Categories That Reliably Fail
Clear glass and crystal, mirrors, polished chrome, sheer curtains, open-weave rattan, and live foliage. Wire frames and anything with visible gaps between thin members struggle just as badly.
Upholstered seating, case goods, ceramics, cushions, and lamps with opaque shades sit at the other end. Those are the pieces worth putting through an image to 3D model pass first, while you learn where the tool’s edges are.
Which Export Format Should You Pick?
Choose by destination. Meshy exports seven formats, so the decision happens downstream of the model itself.
Glb For Web, Fbx For Engines, Stl For Print
GLB bundles geometry and textures into one file, which makes it the safe default for web viewers and Android AR. USDZ is the iOS equivalent for AR Quick Look. Unreal, Unity, Maya, and 3ds Max all expect FBX, so archviz and game pipelines take that. STL and 3MF go to slicers like PrusaSlicer or Bambu Studio. OBJ remains the broadest interchange option when you just need something that opens.
How Do You Clean Up the Mesh for a Scene?
Remesh before you import. Raw generated geometry is dense and irregular, and dropping ten of those into a room scene will choke your viewport.
What Polygon Budget Should You Target?
Around 5,000 to 10,000 triangles for mobile and web delivery. Roughly 20,000 to 40,000 for desktop rendering and print. Hero objects in the foreground of a render can carry more, though background props rarely need it.
Scale causes the other common problem. Generated models arrive without real-world dimensions, so a chair may import at the size of a building. Set the scale manually against a known reference before you place anything.
Where This Workflow Still Costs You Time
A concept model gives you a shape that reads correctly in a mood board or a client walkthrough. It will not give you a spec-accurate replica of a real product, and treating it as one creates problems later.
That distinction matters commercially. Houzz surveyed 1,537 U.S. residential renovation businesses in November and December 2024. The resulting State of the Industry report found 84% of architects and 58% of interior designers used drafting or rendering software that year. Those tools already carry your dimensional accuracy. Generated assets fill the gaps around them.
Check licensing last. Free tier terms on generative 3D platforms shift often, and Meshy AI is no exception. Confirm current commercial rights before a model reaches a paying client.
Key Takeaways
- Photo quality drives output quality more than any setting inside the tool
- Glass, chrome, and thin lattice objects fail on method, so no tool switch fixes them
- Remesh and set scale before import, or the scene will fight you
Conclusion
Treat this as a props pipeline. The image to 3D model route is genuinely fast for filling a scene with bespoke furniture and decor that no asset library sells. It will not replace measured drawings or manufacturer CAD, and it should not try. Start with three matte, opaque objects and find out where the silhouette breaks. Then decide what belongs in client work and what stays on the mood board.