A drywall screw is a specialist fastener made to fix plasterboard, also known as drywall, to a timber or metal frame. It has a sharp point, a thread pitched to grip the frame, and a bugle-shaped head that sinks just below the surface without tearing the board. Choose the right one and drive it to the right depth, and your wall stays smooth and solid. Get it wrong and you get torn paper, popped screws and a wall that needs doing twice.
This guide covers what makes a drywall screw different from an ordinary screw, how to pick the correct thread and length for your frame, how to drive them properly, and the common mistakes that ruin an otherwise tidy job.
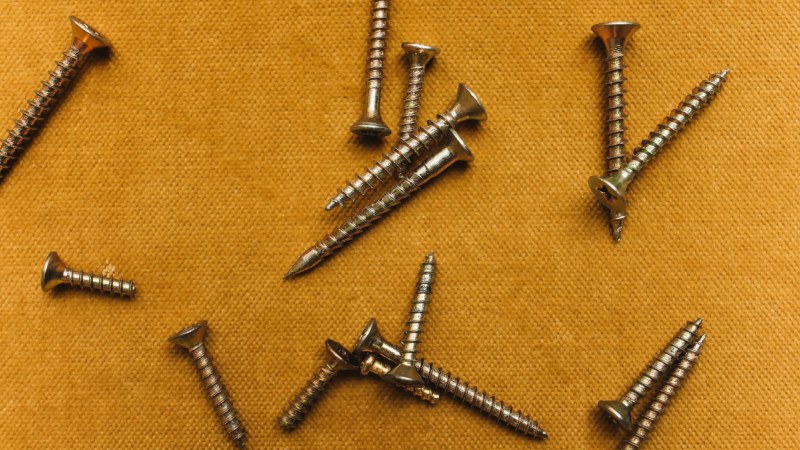
What are drywall screws?
Drywall screws are hardened steel screws designed for one job: fixing gypsum plasterboard and fibreboard to a wall or ceiling frame. They are covered by the European standard EN 14566, and they differ from general wood or chipboard screws in three ways that matter.
First, the head. Drywall screws use a bugle head, a smooth, trumpet-shaped curve under the head that lets the screw pull into the board and sit flush without snapping the paper face. That clean recess is what you fill and sand over later. Second, the point and thread are made to bite quickly into a stud and hold without splitting the board. Third, most carry a phosphate or zinc coating so they resist corrosion and do not bleed rust stains through your paint.
In short, a plasterboard wall is only as good as the screws holding it up. The right fastener gives you a flat surface that takes a skim or a coat of paint cleanly, and a board that will not work loose over time.
Coarse thread or fine thread? Match the screw to the frame
The single most important choice is thread type, and it comes down to what you are screwing into.
Coarse-thread drywall screws are for timber frames. The wide, deep thread grips wood firmly, so these are the ones to reach for when fixing board to timber studs, joists or battens, which covers most home jobs.
Fine-thread drywall screws are for metal frames. The narrow thread cuts cleanly into thin steel studs and channels without chewing them up or working loose.
Self-drilling drywall screws have a small drill point on the tip. They bore through thicker steel sections on their own, so you can fix straight to metal without pre-drilling a pilot hole.
If you are buying for a project and want to see the full range of drywall screws split by timber and metal substructures, fischer’s selection is a useful reference point for matching the screw to the job. The table below sums up the basic choice.
| Frame you are fixing into | Thread type | Tip | Typical length for one 12.5mm board
|
| Timber studs or joists | Coarse | Sharp needle point | 36 to 42mm |
| Thin metal studs (up to ~0.8mm) | Fine | Sharp self-tapping point | 25 to 35mm |
| Thicker steel sections | Fine | Self-drilling drill point | enough to pass through plus grip |
| Two layers of board | Match the frame | As above | 50mm or longer |
What length drywall screws do you need?
The screw needs to pass through the board and bite firmly into the frame behind it. A good rule of thumb is that the screw should penetrate at least 25mm into timber, or at least 10mm into metal, on top of the board thickness.
For everyday DIY that works out at:
- 9.5mm plasterboard: around 25 to 32mm screws.
- 12.5mm plasterboard (the standard wall board): around 36 to 42mm screws, with 38mm being the usual pick.
- Two layers of board: step up to 50mm or longer so you still get full grip in the frame.
Going much longer than needed does not help. Once the screw has enough purchase in the timber, extra length adds nothing, because the weak point is the board itself, not the grip in the wood.
How to drive drywall screws properly
Driving a drywall screw well is about depth and consistency. The head should pull the board tight to the frame and finish just below the surface, leaving a shallow dimple, without breaking through the paper. A broken paper face has almost no holding power, which is what later shows up as a popped screw.
Work through it like this:
- Find and mark the studs or joists so every screw lands in solid frame.
- Pick the right thread and length for that frame.
- Fit a PH2 driver bit, ideally with a depth-stop (dimpler) attachment that stops you overdriving.
- Drive each screw straight in until the head sits just below the surface, with the paper intact.
- Space them correctly. British Gypsum advises screws at 300mm centres on walls and 230mm in the field of a ceiling, with closer spacing of around 150mm at board ends.
- Keep every screw at least 10 to 13mm in from the board edges so the corner does not crumble.
- Run a hand over the surface, sink any proud heads slightly, then fill and sand.
A depth-setting bit is the cheapest upgrade you can make to the job. It pays for itself on the first wall by giving you the same neat dimple every time and saving you from tearing the board.
Common drywall screw mistakes to avoid
Most plasterboard problems trace back to a handful of avoidable errors.
Overdriving the screw. Sink the head too far and it breaks the paper, loses its grip, and pops back out as the wall settles. Stop as soon as the head sits just below the surface.
Using the wrong thread. Coarse thread spins uselessly in metal; fine thread struggles to hold in timber. Match the screw to the frame.
Screws too short. If the screw barely reaches the timber it will not hold. Allow at least 25mm of bite into wood.
Fixing too close to the edge. Screws driven right on the edge crumble the board. Keep them in from cut and bound edges.
Reaching for ordinary wood screws. Standard screws have flat heads that will not countersink cleanly, can tear the paper, and may rust through your paint. Use proper plasterboard screws.
Spacing them too far apart. Wide gaps let the board bow and the joints crack. Stick to roughly 300mm on walls, closer on ceilings.
If you are boarding out a wet area, the same care applies, just pair the screws with moisture-resistant board. There are more practical write-ups like this across our home improvement and bathroom guides.
Frequently asked questions
Can you use wood screws instead of drywall screws?
You can in a pinch, but it is not advisable. Ordinary wood screws have flat heads that do not countersink neatly into plasterboard, so they tear the paper and leave bumps that are hard to fill. Many also lack a corrosion coating and can stain your paintwork. Proper drywall screws are designed to finish flush and hold cleanly, so they give a far better result.
What length drywall screws do I need for 12.5mm plasterboard?
About 38mm. That gives the screw enough length to pass through a single 12.5mm board and still bite at least 25mm into a timber frame. For double-boarding, step up to 50mm or longer.
Should I use coarse or fine thread drywall screws?
Use coarse thread for timber frames and fine thread for metal frames. If you are fixing to thicker steel, choose a self-drilling drywall screw with a drill point so you can fix straight in without pre-drilling.
How far apart should drywall screws be?
British Gypsum recommends roughly 300mm centres on partition walls and 230mm in the field of a ceiling, with around 150mm spacing at board ends. Keep every screw at least 10 to 13mm in from the board edges. Always check the figures for the specific board system you are using.
Why do drywall screws pop, and how do I stop it?
Screw pops usually come from one of two things: a screw driven so deep that it tore the paper and lost its grip, or movement in the timber frame as it dries out. Avoid both by driving each screw only just below the surface, using a depth-stop bit, and fixing into sound, dry timber. To fix an existing pop, drive a new screw about 50mm away, then refill over the old one.
Getting it right
Drywall screws look like a small detail, but they decide whether a plasterboard wall stays flat and solid or cracks and pops within a year. The formula is simple: coarse thread for timber and fine for metal, the right length to bite into the frame, driven flush without tearing the paper, and spaced correctly.
Before you start your next job, work out your board thickness and frame type, then buy the matching screws in one go rather than guessing at the merchant. Get the fastener right and the rest of the wall, the filling, sanding and finishing, becomes far easier.